I decided this year to get bees for our garden. I love the idea of keeping thousands of happy pollinators around, and I'm also excited about the possibility of having gallons of sweet, fresh, local honey at the end of the season.
I spent months researching different beekeeping methods and finally decided on the Warre method. The Warre Method is a natural approach to beekeeping, grounded in philosophy that the bees possess inherent wisdom when it comes to best bee survival practices. The Warre hive imitates a tree trunk- so it is smaller than normal Langstroth boxes, and square in shape. The hives start out with two boxes, with boxes being added to the bottom of the bee hive as the colony grows and needs more space. (Langstroths typically "super" additional boxes over the top of the existing boxes). The theory is that the bees will start building comb and laying brood in the top boxes, then will work their way down as the season progresses. As the brood hatches, the empty cells will be cleaned and used to store honey. Harvesting honey, then, is relatively easy- you just take the top few boxes, as most of the bees will have moved down the hive as the summer progresses.
Anyhow, here's a photo essay on our bee preparations.....


The Warre hives, which we purchased from JuJu Bees in Port Orchard, arrived unfinished. We filled in the nail holes and prepped them for painting by sanding them down.

I don't have many pictures of the painting process, but we decided to paint them blue.

Venessa did a bee/ clouds look.


On the weekend the bees arrived, I drove out to Bellevue to pick up our two packages.
I stepped into a garage that was completely full of bees.
.
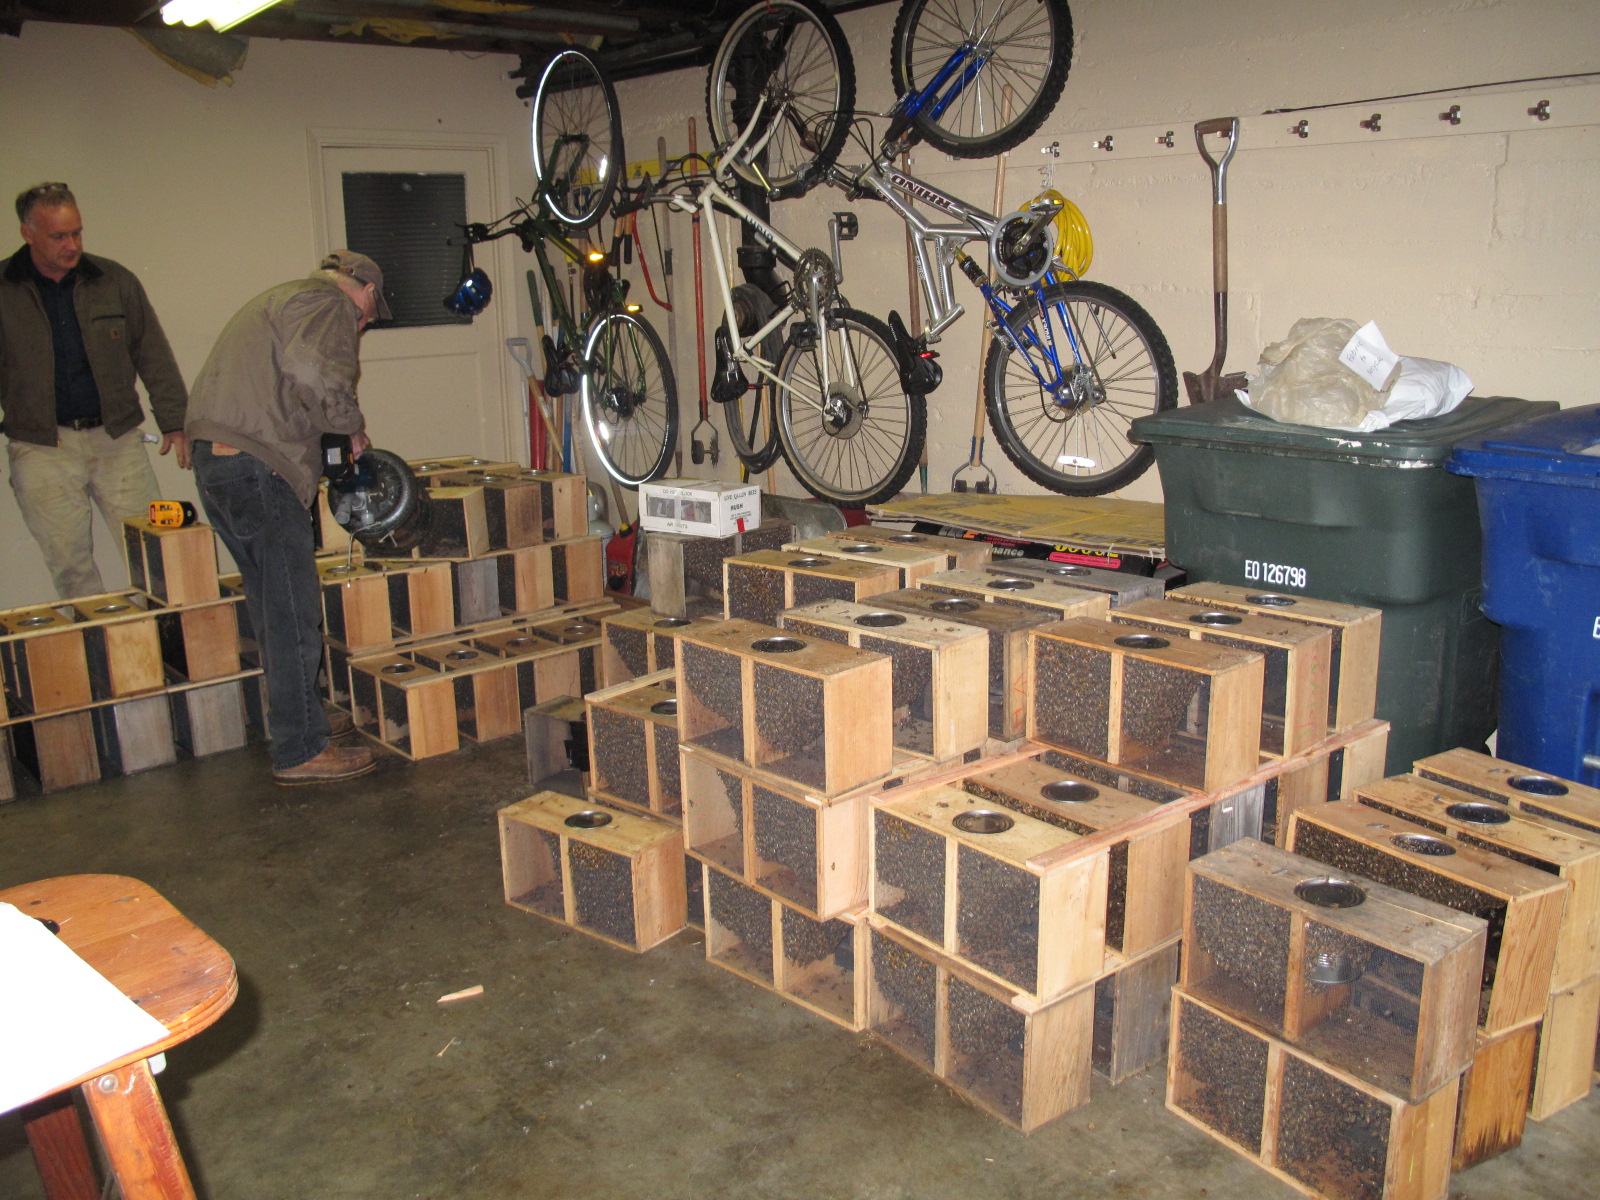

There were a number of bees who weren't in the screened in part, but who clung to the rest of the hive. These bees have no desire to leave the queen, especially when in transit- they need to know where "home" is before they will feel free flying about to gather pollen and nectar.

When I got home I was really anxious to get the bees installed, but there was still more prep work to do. We had to prepare wax bases to fill each of our top bars. Traditional Langstroth hives have frames with pre-made comb, and honeybees use that as a base to build more comb and to store honey in. The Warre method is a bit different, though. Rather than a full frame, bees are given only top bars, with grooves cut in them. The lack of three additional sides of the frame allows bees to build comb in whatever shape they see fit. Here are some shots of us making beeswax "starter strips" to plug into the groove of the top bars.
 |
| Chad scraping warm wax off a paint stick |
 |
| That's me, pressing some wax into the groove on the top bar. |
 |
| Top bars filled with wax starter strips lined up, cooling off. |
 |
| A few top bars with some other bee equipment- a hive tool and a smoker (which matches our curtians!). |
 |
| Venessa's box, waiting for filled top bars to be set in place. |

After placing the hives, we were ready to install our packages!!!

No comments:
Post a Comment